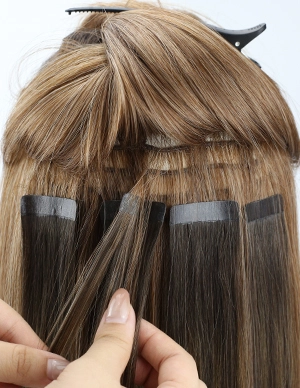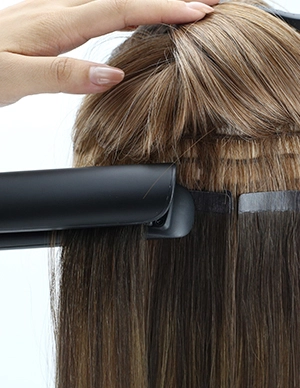
Tape Adhesive Troubles? Top Causes & Fixes

Tape Adhesive Troubles?

Top Causes & Fixes

Are your tape-in hair extensions not sticking properly? You’re not alone. Discover the most common causes of Tape Adhesive failure and the practical steps that can help improve the hold.

Summary:If your tape-in hair extensions keep slipping or falling out, the problem may be related to product buildup, moisture, incorrect sectioning, improper application, or unsuitable haircare products. To improve adhesion1, wash and fully dry your hair before installation, keep conditioner and oils away from the roots, and apply each tape tab with firm, even pressure. Create a balanced tape sandwich using the right amount of natural hair, leave a small gap from the scalp, and keep the attachment area dry for 48–72 hours after installation.

Key Words:

Tape Adhesive, Tape-in Hair Extensions, Not Sticking / Adhesive Failure, Causes, Fixes / Solutions, Application Technique, Surface Preparation, Clarifying Shampoo, Sulfate-free / Silicone-free (Products), Proper Cleaning Routine, 48-Hour Rule, Firm Pressure, Regular Maintenance, Hypoallergenic Tape


  • Understanding the Problem

    Struggling with tape-in extensions that won’t stick? Adhesive failure—causing slipping, lifting, and worry—is a common issue. But don’t worry: most problems are fixable with better surface prep or reapplication.

    This guide will walk you through the key reasons your tape adhesive isn’t performing and provide actionable solutions to keep your hair secure and confident all day long.
Tape Adhesive

Why Your Tape Adhesive Isn’t Sticking?

A reliable hold depends on suitable Tape Adhesive and proper preparation of the natural hair. If the attachment area contains oil, moisture, or product residue2—or if the tape tabs are applied unevenly—the bond may weaken prematurely3.

Tape Adhesive
Poor Surface Preparation

Natural scalp oils and leftover haircare products can create a barrier between the Tape Adhesive and the hair, preventing the tabs from bonding evenly.
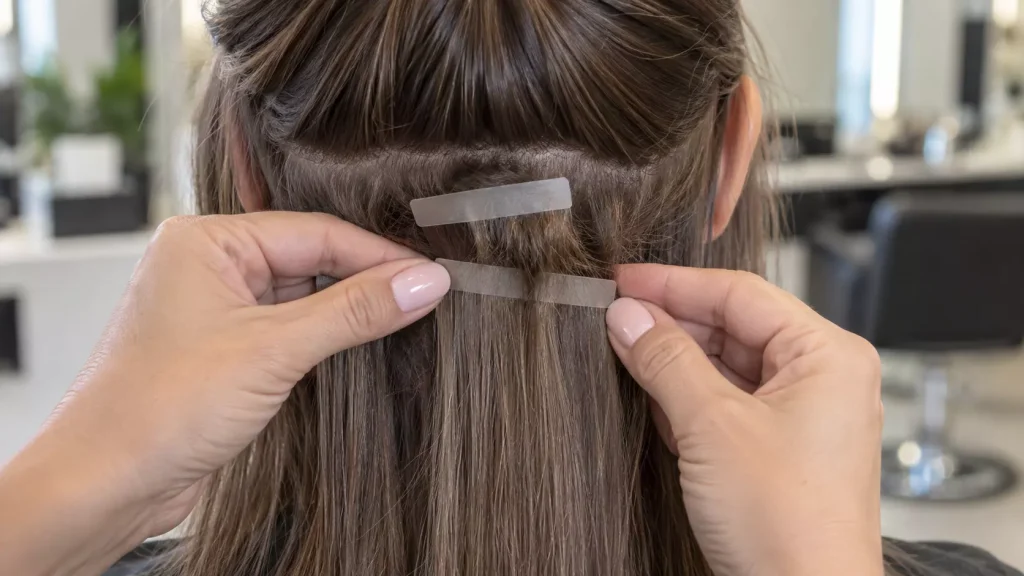
Oil, dirt, conditioner, dry shampoo, and silicone residue can leave the hair slippery. The adhesive then attaches to the residue instead of the clean hair surface, which may result in lifting or slipping.

Wash the natural hair with a suitable residue-removing shampoo before installation. Do not apply conditioner, oils, serums, or leave-in products near the roots. Dry the hair completely before attaching the tape tabs.

Tape Adhesive
Incorrect Application Technique

Applying tape-in extensions requires clean sections, balanced placement, and firm, even pressure. Simply placing the tape on the hair and lightly pressing it may not create sufficient contact between both tabs.

If you simply place the tape-on hair and give it a light pat, you haven’t activated the bond. Air pockets can get trapped, making it easy for the edges to lift.

Create a neat horizontal section and use only enough natural hair to form a balanced tape sandwich. After positioning both tabs, press them together firmly for 10–15 seconds, working from the center toward the edges.

Tape Adhesive
Humidity and Sweat

Excess moisture can interfere with newly installed Tape Adhesive, particularly before the bond has had enough time to settle.
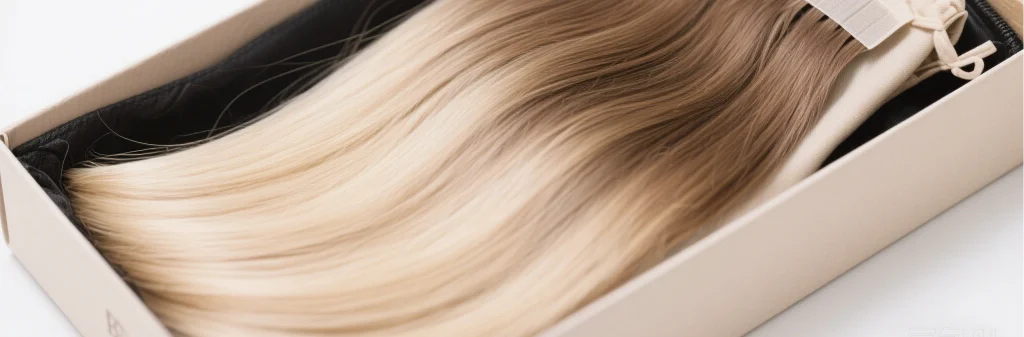
Heavy perspiration, high humidity, steam, swimming, or washing too soon after installation can allow moisture to reach the tape tabs.

Keep the attachment area dry for the first 48–72 hours after installation. Avoid washing, swimming, steam rooms, and activities that cause heavy sweating during this period. Follow the instructions supplied with your specific replacement tape.

Tape Adhesive
Improper Tape Storage

Storage conditions may affect Tape Adhesive before the package is opened or used.
Heat, humidity, direct sunlight, or an unsealed package may gradually affect the adhesive surface. For example, leaving replacement tape in a hot car or damp bathroom can reduce its performance.

Keep unused replacement tapes sealed in their original packaging and store them in a cool, dry place away from sunlight and moisture. Always follow any temperature or storage guidance printed on the package.

Tape Adhesive
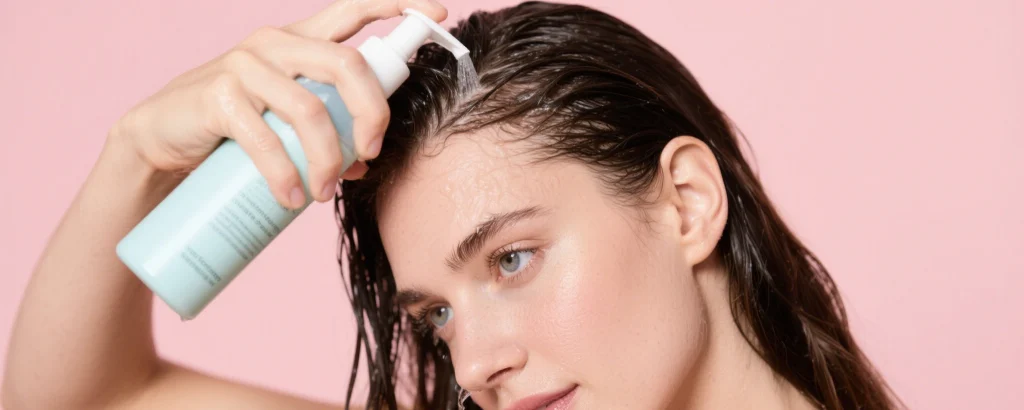
Oily or Fine Hair

Different hair and scalp conditions may require adjustments to the preparation process and the amount of hair placed between each pair of tape tabs.
A naturally oily scalp may cause buildup around the attachment area more quickly. Very fine or silky hair can also make it harder to create a balanced section if too much or too little hair is used.

For oily hair, wash thoroughly before installation and keep oils and conditioner away from the roots. For fine hair, create clean, carefully measured sections and avoid placing excessive tension near the scalp. Professional installation may be helpful.

Tape Adhesive
Defective or Old Tape

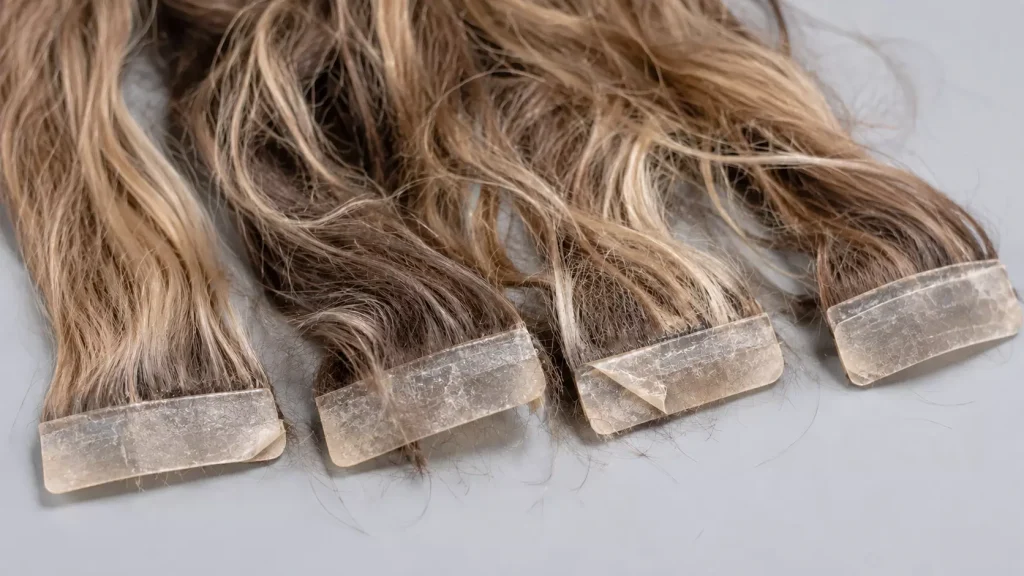
Replacement tape can lose adhesion when it is old, contaminated, exposed to unsuitable storage conditions, or damaged during handling.

Touching the adhesive surface with your fingers can transfer oil and reduce contact. Tape that appears dry, uneven, discolored, or unusually gummy may also be unsuitable for another installation.

Check the condition of the tape before use and avoid touching the exposed adhesive. Replace tape when the tabs begin lifting or during scheduled maintenance, following the tape manufacturer’s guidance and your stylist’s recommendation.

How Can You Prevent Tape Adhesive Problems?

Preventive care can help your tape-in hair extensions remain secure, comfortable, and easier to maintain between salon appointments.

Follow a Proper Cleaning Routine

Before installation, remove oil and product buildup from the natural hair. After installation, use extension-compatible haircare products and keep conditioner, masks, oils, and serums away from the tape tabs.

Respect the 48–72-Hour Rule

After a new installation or re-taping appointment, keep the attachment area completely dry for 48–72 full hours unless your tape instructions specify otherwise. This gives the Tape Adhesive time to form a more stable bond.

Schedule Regular Maintenance

Do not wait until several tabs have slipped or lifted. Check the attachment areas regularly and arrange maintenance according to hair growth, the condition of the adhesive, and your stylist’s advice. Maintenance timing can vary between users.

Pay Attention to Your Scalp

Mild awareness of installed extensions may occur, but itching, redness, pain, or irritation needs attention. Stop using tape and consult a professional if irritation continues. A sensitive-skin tape may be considered after reviewing its ingredients and instructions.

What Is the Key to Applying Tape-In Extensions?

Proper preparation, sectioning, and pressure are essential when applying tape-in hair extensions. Follow these steps to create clean, balanced attachment points:


Tape Adhesive
Tape Adhesive
1
Prepare Hair

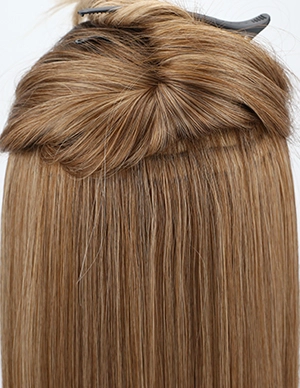
Begin with clean, fully dry hair. Remove product buildup and do not apply conditioner or oil near the roots before installation.

2
Section Hair

Create a neat horizontal section where the extensions will be applied. Choose an even amount of natural hair for each tape sandwich.

3
Apply Extensions

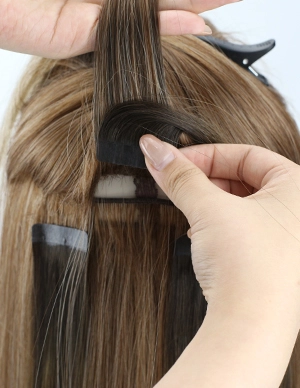
Remove the backing without touching the adhesive. Position the tape tab close to the scalp while leaving enough space for comfortable movement.

4
Secure Properly

Align the upper and lower tabs, then press firmly for 10–15 seconds. Apply even pressure from the center outward to reduce gaps and trapped air.
FAQ About Tape Adhesive

Choose products that are compatible with tape-in extensions. Some shampoos, conditioners, masks, and styling products can leave oil or silicone residue around the attachment points. Apply conditioner only through the mid-lengths and ends, keeping it away from the tape tabs. Clarifying shampoo is mainly useful before installation or when residue removal is needed; it may be too drying for frequent use.

Wash your hair according to your scalp type, lifestyle, and stylist’s instructions. For many users, two or three washes per week may be sufficient. Clean the scalp gently without scrubbing or twisting the tape tabs. Dry shampoo may be used when suitable, but it should not build up directly around the attachment points.

Sticky or gummy tape may indicate that the adhesive is beginning to break down. Common causes include oil-based products, moisture, heat, product buildup, or extended wear. Arrange maintenance or replacement before the tabs begin slipping further, and avoid trying to press contaminated adhesive back into place.

Some movement occurs as the natural hair grows, but noticeable lifting, sliding, or separation of the tape tabs may indicate that maintenance is needed. It can also result from residue, incorrect sectioning, moisture exposure, or uneven application. A stylist can check whether the tabs need to be cleaned, removed, and re-taped.

For additional guidance on caring for extensions and protecting the natural hair, see the American Academy of Dermatology’s extension-care recommendations and these professional extension aftercare guidelines.

Still Need Help? We’re Here for You!

If you have followed these steps and your tape-in hair extensions are still slipping, stop reapplying the same tape and inspect the attachment area. The issue may involve product residue, installation technique, storage conditions, or the condition of the Tape Adhesive. Contact support with your order information and clear photos of the tape tabs so the situation can be reviewed more accurately.

Note:

  1. The process or strength of one surface sticking to another. ↩︎
  2. A small amount of a substance left on a surface. ↩︎
  3. Earlier than expected or before the proper time. ↩︎

About the author

Spread the word
Was this article helpful?
YesNo

2 thoughts on “Tape Adhesive Troubles? Top Causes & Fixes”

  1. Hello, I received a pack of tape in extensions and when they arrived the adhesive was stuck together, it appears as if it was heated, possibly from hot temperature during shipping? I tried applying however they do not stick well and only a few were useable from the adhesive already being warmed.

    1. We’re sorry to hear about the issue with your tape-in extensions! Temperature exposure during shipping can sometimes affect the adhesive. We’ve just sent you an email to gather more details and resolve this for you—please check your inbox (and spam folder, just in case).
      We’ll make sure you’re taken care of!

Leave a Comment

Your email address will not be published. Required fields are marked *

Scroll to Top