Tape In Extensions How To Apply And Remove
A Step-by-Step Guide Like a Professional
Summary:
“Tape-in extensions remain a favorite among stylists because they lay flat, feel lightweight, and can be reused with proper care.” – Modern Salon Media. When applied and removed correctly, these extensions cause minimal stress to natural hair. This guide walks you through every stage, from sectioning to safe removal, ensuring you avoid common mistakes like premature slipping or adhesive residue.
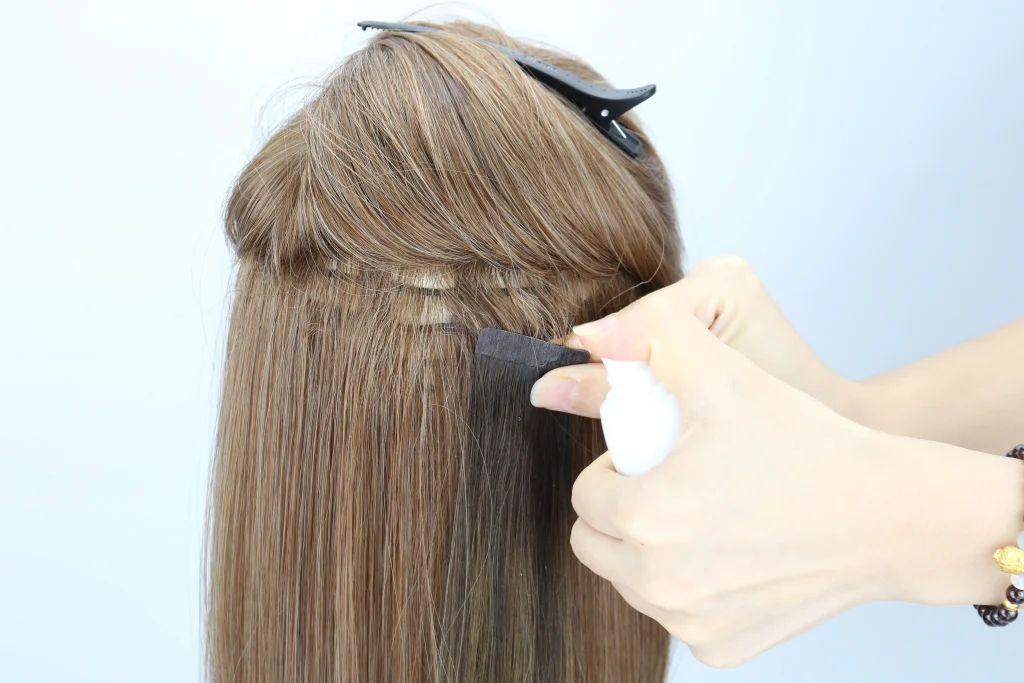
Application requires clean, product-free hair – oils reduce bond strength by up to 50%.
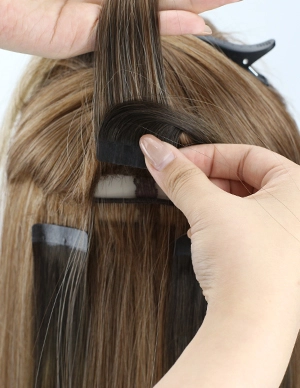
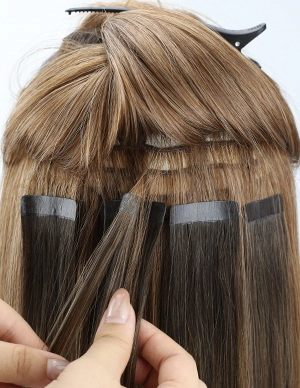
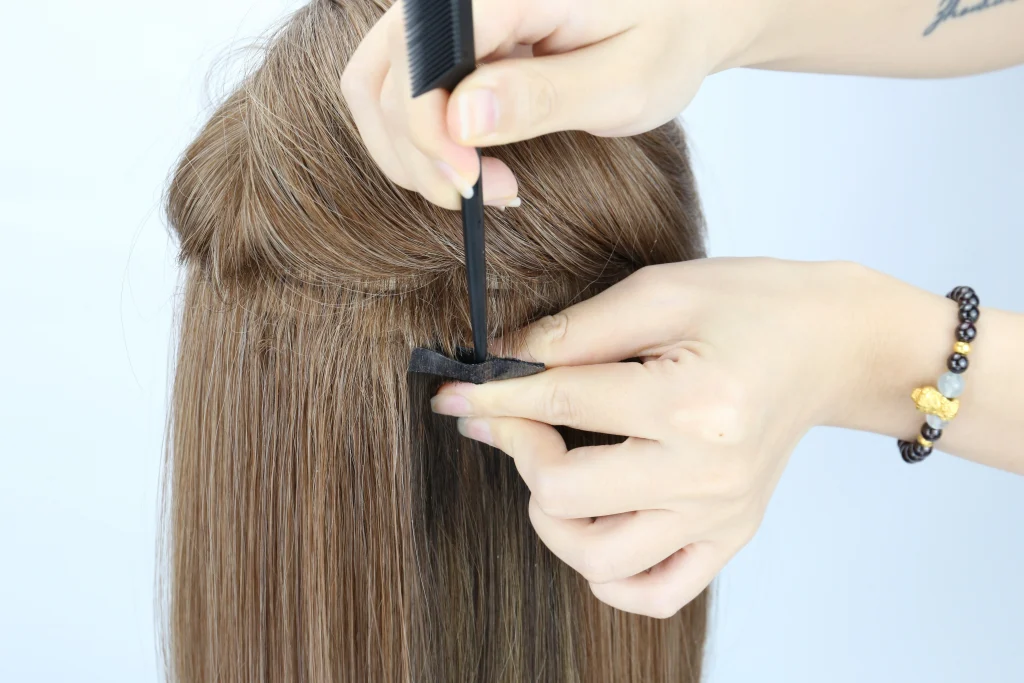
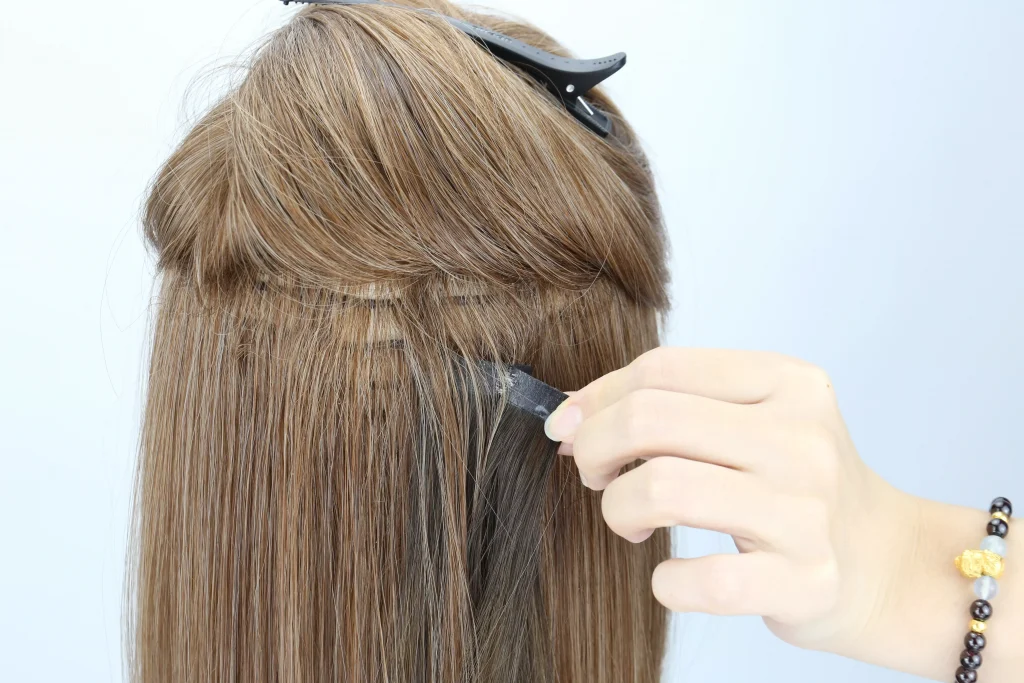
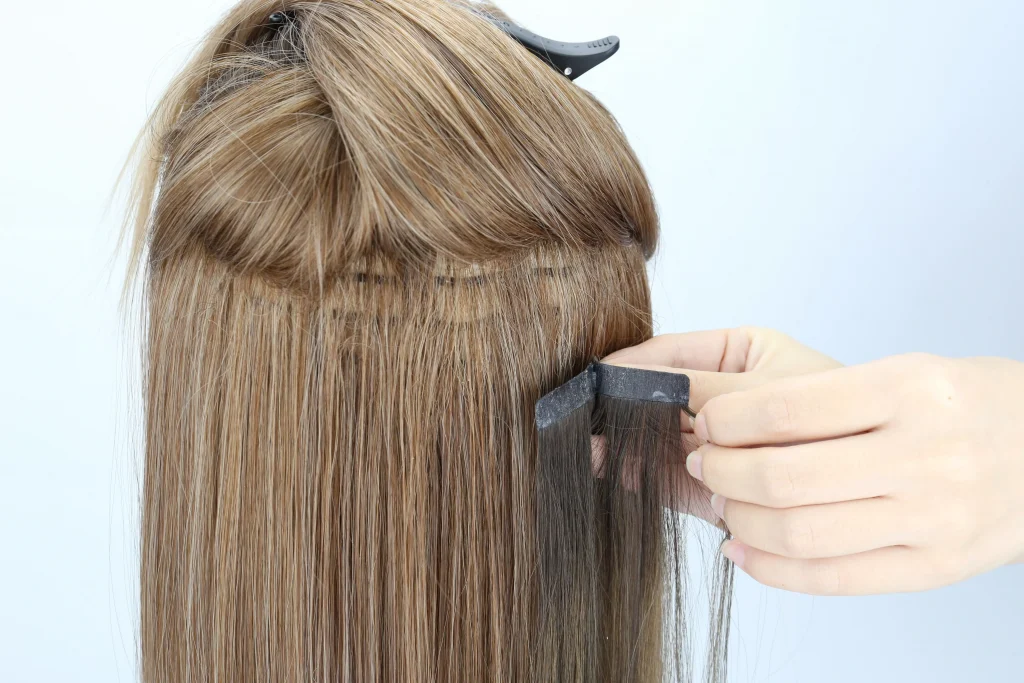
Always sandwich natural hair between two tape wefts for a secure hold.
Removal must involve a solvent – never pull or rip the tapes out.
Proper aftercare extends the life of your tape in extensions to 6–8 weeks.
Introduction
Have you ever wanted longer, thicker hair without the commitment of permanent methods? Tape in extensions are one of the most popular semi-permanent solutions available today. They are thin, discreet, and lie flat against the scalp, making them nearly invisible.
However, many first-time users struggle with two critical steps: correct installation and safe removal. Get these wrong, and you risk damaging your natural strands or losing the extensions within days. This post walks you through each phase in plain language, whether you are a beginner or a seasoned enthusiast. No jargon, no fluff—just actionable steps backed by professional habits.
What Exactly Are Tape In Extensions?
Tape in extensions consist of pre-taped wefts of human or synthetic hair. Each weft has a medical-grade adhesive strip. You place a thin section of your natural hair between two tape wefts, pressing them together like a sandwich. The result is a flat, comfortable bond1 that lasts four to eight weeks.
These extensions are reusable if you remove them correctly. Unlike clip-ins, they stay in place during sleep, workouts, and washing. Unlike sew-in weaves, they do not require braiding or thread. This balance of convenience and natural movement explains why tape in extensions dominate the instant hair market today.
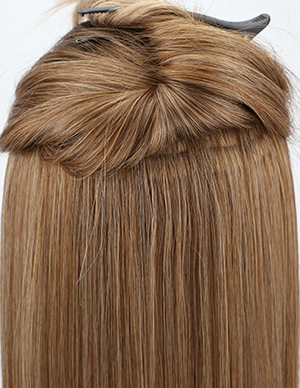
How To Apply Tape In Extensions?
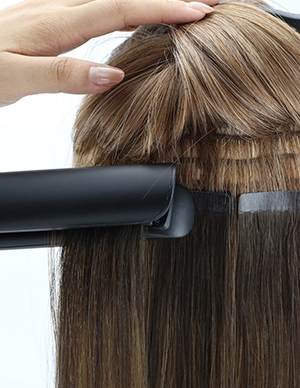
Proper application determines how long your tape in extensions will last. Follow these modular steps carefully.
How To Remove Tape In Extensions Safely?
Removal is just as important as application. Never pull or rip tape in extensions out of your hair. You will break your natural strands and ruin the wefts for reuse.
Frequently Asked Questions (FAQ)
Conclusion
Tape in extensions offer a flexible, natural-looking way to change your hairstyle without permanent alterations. Success depends entirely on proper application and removal techniques. Clean, dry hair and thin sections create bonds that last up to two months. Staggered placement prevents bulk and discomfort. Safe removal using a solvent—never force—protects both your natural hair and the wefts for future use.
If you are unsure about any step, consult a professional stylist for your first application. Once you understand the process, you can confidently maintain your tape in extensions at home. Remember: patience and the right tools make all the difference between a frustrating experience and beautiful, long-lasting results.