Hair Loss Treatment: How to Prevent Micro Ring Extensions from Falling Out
Discover professional solutions to keep your micro ring extensions secure while addressing hair loss treatment concerns.
Key Takeaways:
Proper ring size and installation are critical for successful hair loss treatment with extensions
Aftercare and product selection play a major role in maintaining extensions
High-quality materials reduce hair damage and improve longevity
Alternative methods like tape-in extensions may be better for severe hair loss1
Top Reasons
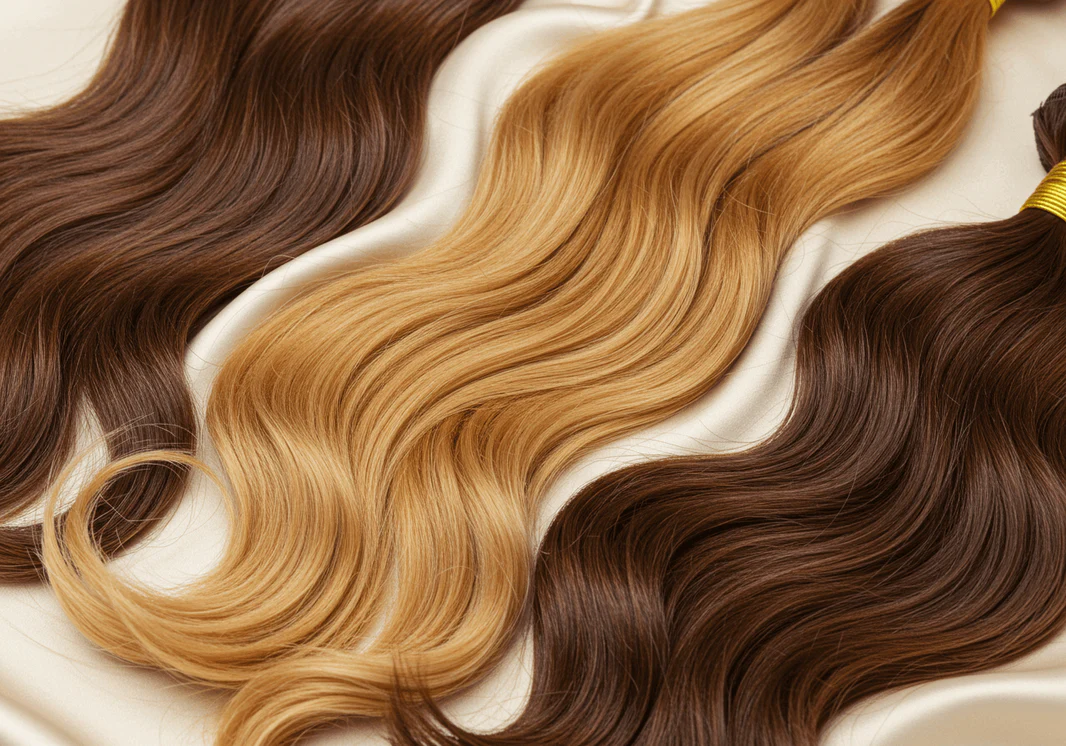
Micro ring extensions are a popular semi-permanent hair loss treatment for adding volume and length, but many clients struggle with slippage. If you’ve wondered, “Why do micro ring extensions fall out?”, this comprehensive guide explains the causes and provides professional solutions to keep your extensions secure—while also addressing hair loss treatment concerns for those with thinning hair.

Top Reasons Why Micro Ring Extensions Fall Out
Incorrect Ring Size
Using the wrong ring size reduces grip, especially for fine or thinning hair.
For fine hair: Use 1.5mm silicone-lined rings
For thick hair: 2mm non-silicone rings
Improper Installation
Weak grip from uneven tension or thin natural hair.
Use 1cm-wide natural hair sections per ring.
Apply even pressure with micro ring pliers.
Avoid over-stressing fragile hair.
Oily Hair or Product Buildup
Conditioners and oils make extensions slip.
Wash with a clarifying shampoo
Avoid conditioning roots post-installation
Use extension-friendly products
Poor Aftercare
Rough brushing, sleeping on wet hair, or heavy products loosen rings.
Use a loop brush (gentler for thinning hair)
Braid hair before bed
Choose sulfate-free products
Low-Quality Materials
Cheap rings corrode; weak bonds break easily.
Invest in nickel-free micro rings
Choose keratin-tip(protein) extensions
Better for sensitive scalps and thinning hair
Expert Insight
“Proper installation and maintenance are vital for hair loss treatments with extensions. Clients with thinning hair need extra care to prevent further damage.”
– Sarah Johnson, Certified Trichologist and Extension Specialist
How to Fix Falling Micro Ring Extensions

For Loose Rings
Addressing minor slippage issues
For Broken Rings
Solutions for more severe issues
Prevention Checklist for Hair Loss Treatment Patients
Before Installation
- Clarify hair (no conditioner) to remove oils and product buildup that can cause slippage
- Section hair neatly to avoid strain on thinning areas and ensure even distribution of extensions
- Consult with a trichologist or extension specialist to determine the best hair loss treatment plan for your needs
Maintenance
- Schedule 6-week adjustments to check ring tightness and address any early signs of slippage
- Use sulfate-free shampoo and extension-safe products to maintain hair health during treatment
- Avoid excessive heat styling and use heat protectant when necessary to minimize damage
For Frequent Slippage
- Consider tape-in or nano-ring alternatives (gentler for thinning hair)
- Consult with a professional to assess if micro ring extensions are the best hair loss treatment option for you
- Explore additional hair loss treatments such as topical solutions or supplements in conjunction with extensions
Frequently Asked Questions
Expert Tips for Successful Hair Loss Treatment with Extensions
Consult a Trichologist
Before starting any hair loss treatment with extensions, consult a trichologist to assess your scalp health and determine the underlying cause of hair loss.
Choose Quality Over Cost
Invest in high-quality extensions and materials to minimize damage and ensure better results during your hair loss treatment journey.
Prioritize Scalp Health
Support hair growth during treatment by maintaining a healthy scalp through regular cleansing and exfoliation.
Rotate Treatment Methods
Consider alternating between different extension methods or taking breaks to allow your natural hair to recover during long-term hair loss treatment.
Ready to Upgrade Your Hair?
Shop now and explore our premium collection of hair extensions and hair care products! Whether you’re looking for length, volume, or a flawless finish, we have the perfect solution for you.
Visit Now
- For patients with severe hair loss, it is recommended to prioritize evaluating tape-based or surgical solutions; micro-ring methods are generally not recommended as the primary repair method. ↩︎
- When installed by a professional and maintained as recommended, micro-ring hair extensions typically last about 3–6 months; if any extensions fall out, a follow-up check should be scheduled immediately. ↩︎