Hair Curling Iron: The Ultimate Guide to Straightening Curly Hair Extensions Without Damage
Master the art of using a hair curling iron to achieve sleek, straight styles while keeping your extensions healthy and beautiful.
If you’ve ever stared at your curly hair extensions post-wash and thought, “How do I get these sleek again?”—you’re in the right place. Many people turn to a hair curling iron not just for creating curls, but also for achieving smooth, straight styles, which is why “hair curling iron straightening” is such a popular search. The key is knowing how to use a styling tool correctly to avoid damage while getting that perfect straight look.
In this comprehensive guide, we’ll break down exactly how to use a styling tool to straighten curly hair extensions, from prepping your extensions to mastering the technique with a hair curling iron. We’ll also cover why extensions curl in the first place, the tools you need (with a focus on choosing the right hair curling iron), and expert tips to make your straight style last. Let’s get started!
A high-quality styling tool isn’t just for creating beautiful curls—it’s a versatile tool that can help you achieve a variety of styles, including sleek, straight hair.
Why Do Hair Extensions Curl After Washing?
Natural Texture
Natural texture becomes more prominent when wet. This is totally normal and doesn’t mean your extensions are low-quality. In fact, it’s a sign they’re made from real human hair, which reacts to water and humidity just like your natural hair.
Cuticle Behavior
The water causes the hair cuticles to lift slightly. This lifting can enhance any existing texture, making curls or waves more prominent. Once the hair dries, the cuticles lay back down, but if you don’t style them, the texture might remain.
Humidity and Environment
After washing, if you let it air dry in a humid environment, they’re more likely to curl. This is because hair absorbs moisture from the air, which can alter its shape. This is where a heated iron can come in handy to restyle them.
Step-by-Step Guide for Using a Hair Curling Iron to Straighten Extensions
1. Cleanse & Condition
Start with clean, damp extensions. Use a sulfate-free hydrating shampoo and conditioner to moisturize without stripping natural oils.
2. Apply Heat Protectant
Spray a heat protectant evenly throughout the hair before using any heat tools. This step is essential to shield hair from high temperatures.
3. Add Serum or Oil
Apply a small amount of argan oil or hair serum to damp hair to boost moisture, reduce frizz, and add shine for a smoother straightening process.
4. Blow-Dry with Tension
Using a blow dryer with a nozzle attachment and a round brush, stretch and smooth the hair while drying. This pre-straightens the hair and reduces the work needed with the iron.
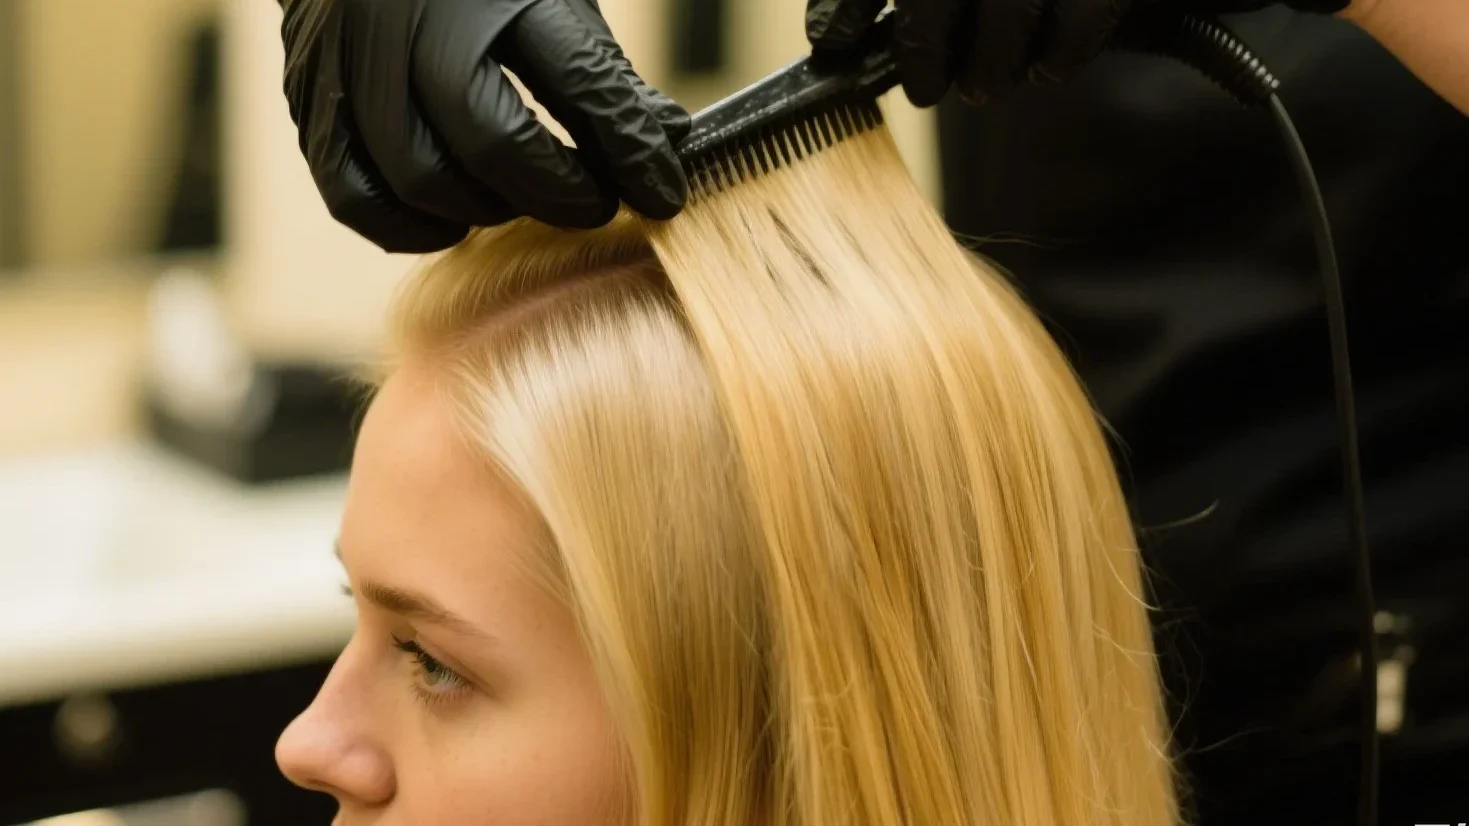
5. Straighten with a Narrow Iron
Use a 1-inch (or smaller) heated iron with adjustable heat settings. Straighten small sections at a time for better control and even results.
Wash and Condition
Start by gently cleansing your extensions with a hydrating, sulfate-free shampoo, then rinse with lukewarm water. Apply a deep conditioner from mid-lengths to ends and leave it on for 5–10 minutes. Clean, well-moisturized hair is more resistant to heat damage during styling.
Towel Dry and Apply Heat Protectant
After rinsing, gently squeeze out excess water with a towel—do not rub. Spray a heat protectant evenly over damp hair, ensuring full coverage. Allow it to absorb for about a minute to form a protective barrier before heat styling.
Blow-Dry with Tension
Section hair into 4–6 parts. Using a blow dryer with a nozzle and a round brush, set the dryer to medium heat. Slowly pull each section straight while directing the airflow along the hair shaft. This stretches the curls and pre-straightens the hair, making the next step easier.
Smooth the hair using your styling tool
Set your curling iron to a low or medium temperature1 . Divide hair into small sections, about ½ inch wide. Clamp the iron near the roots and glide it smoothly down to the ends, keeping it moving to avoid heat concentration.
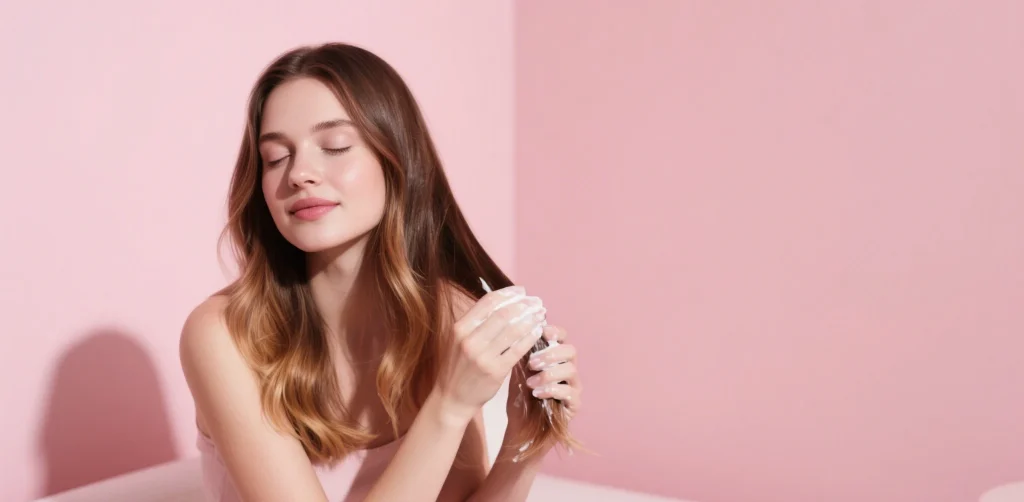
Finish with Serum
Once straightened, apply a small amount of argan oil or serum to your palms and gently smooth it over your extensions. This adds shine, seals in moisture, and helps protect against humidity that may cause curls to reappear.
How can I make my straight style last longer?
Limit Washing
Washing your extensions too often can make them curl again. Aim to wash them only 1-2 times a week to keep your straight style looking fresh. This also reduces the need to use the heated iron frequently, which is better for the health of your extensions.
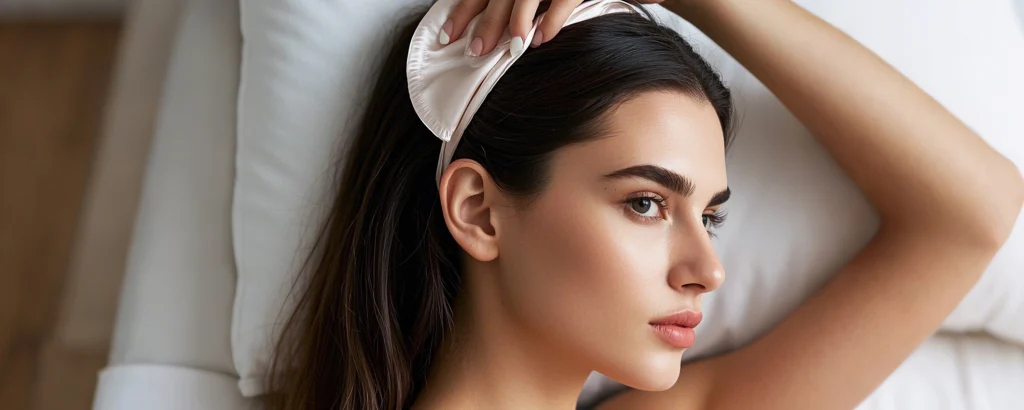
Protect While You Sleep
To prevent your extensions from curling overnight, wrap them in a silk scarf or sleep on a satin pillowcase. Silk and satin reduce friction, which can cause frizz and tangles, and help your straight style last longer—meaning fewer touch-ups with the curling wand.
Touch Up Smartly
If some sections start to curl again, don’t re-straighten your entire head with the curling wand. Instead, use a mini hair curling iron or the same hair curling iron on a low setting to touch up only the frizzy or curly parts. This minimizes heat exposure.
Avoid High Humidity
Use an anti-humidity spray if you live in a damp climate. Humidity is a common culprit for curly regrowth, so this step can save you from having to use the curling wand more than necessary.
What are the most common mistakes to avoid?
Skipping Heat Protectant
This is the biggest mistake you can make. Without heat protectant, the high temperatures of the barrel iron can damage the hair cuticles, leading to dryness, breakage, and split ends. Always spray heat protectant before using the hair curling iron.
Using Too High Heat on the Hair Curling Iron
It’s tempting to turn up the heat on your barrel iron to straighten faster, but this is harmful. Human hair extensions can’t handle temperatures above 360°F, so keep your hair curling iron set to 300-360°F.
Rushing Through Sections
Trying to straighten large sections with the barrel iron won’t work. The hair curling iron can’t heat through thick sections evenly, leaving some parts curly. Take your time with small sections to get the best results.
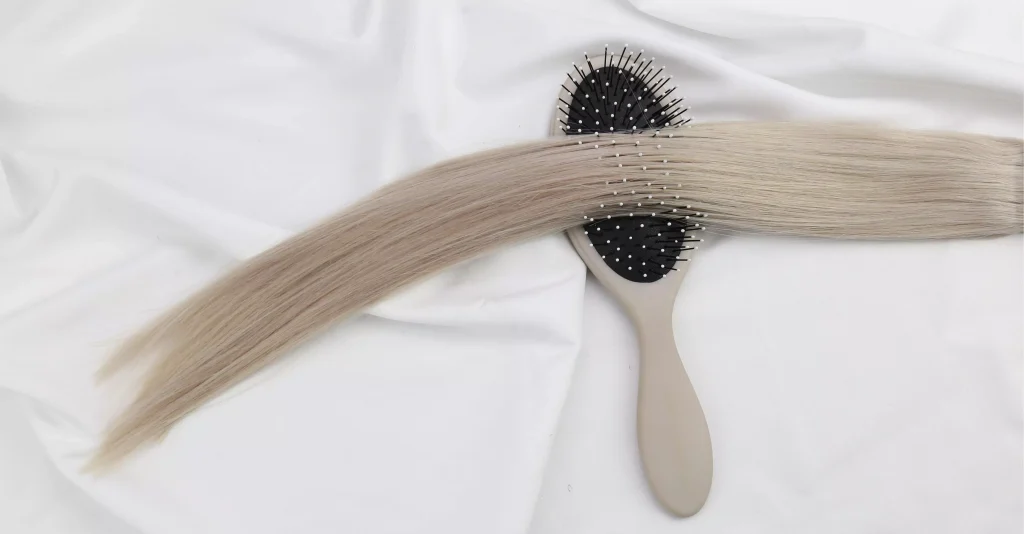
Using a Dirty Hair Curling Iron
A hair curling iron with product buildup can transfer that buildup to your extensions, causing them to look dull or greasy. Clean your barrel iron regularly with a damp cloth to remove any residue.
Final Thoughts
Using a styling tool to straighten curly hair extensions is a great way to switch up your style, but it’s important to do it correctly. By following these steps, using the right tools (especially the right hair curling iron), and avoiding common mistakes, you can achieve a sleek, straight look without damaging your extensions. Remember, gentle heat, proper prep, and good aftercare are the keys to keeping your extensions healthy and your style looking amazing.
Have Questions About Using a Hair Curling Iron?
If you have any questions about using a styling tool to straighten extensions, feel free to leave a comment below. And if you found this guide helpful, share it with your friends who love hair extensions!

- do not exceed 360°F / 180°C ↩︎