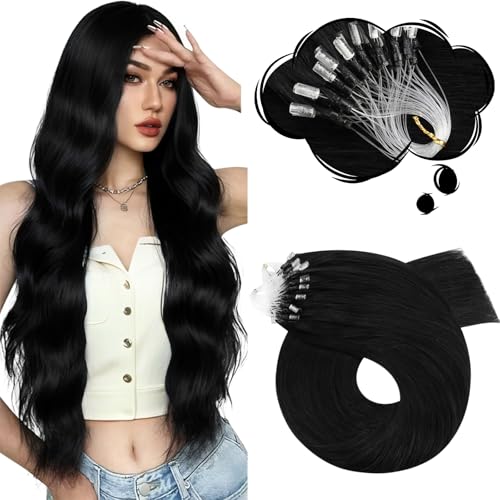
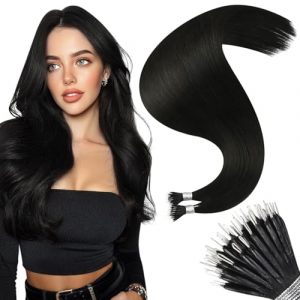
How to Professionally Reuse Your Micro Loop Hair Extensions
Learn salon-approved techniques to safely reuse your affordable hair extensions while maintaining hair health and maximizing value.
The Professional Approach
As a hair extensions professional with over 10 years of experience, I’ll guide you through the exact methods we use in the salon to extend the life of micro loop extensions(affordable hair extensions)without compromising quality.
When you invest in affordable hair extensions, proper reuse not only saves money but also protects your natural hair. With the right professional approach, you can enjoy beautiful, long-lasting results while keeping your hair healthy.
Why It Matters
Benefits of Professional Reuse
Reusing your affordable hair extensions-micro loop hair extensions the right way ensures they look natural, stay secure, and cause no harm to your own hair.
Cost Savings
Reusing extensions 2-3 times can save you up to 60% compared to buying new sets regularly.
Up to $150 savings per year
Hair Health
Proper techniques prevent traction alopecia, breakage, and damage to your natural hair.
Gentle on natural hair
Extended Lifespan
With professional care, your extensions can last 6-8 months instead of just 2-3.
3x longer lifespan
Industry Insight
A 2024 Hair Extension Council survey revealed that 78% of salons see clients damage their extensions during DIY removal. Learning professional methods can prevent this common issue and help you get the most out of your investment.
The Professional Reuse Process
Follow these expert steps to safely remove, clean, and reinstall your affordable hair extensions-micro loop hair extensions.
🔴Professional Removal
Removing affordable hair extensions-micro loop extensions properly is crucial for preserving both the extensions and your natural hair. Rushing this step can cause irreparable damage.
🟠Required Tools:
Silicone-based release spray
Micro loop pliers with tension control
Sectioning clips
Detangling brush
🟡Removal Steps:
1.Spray the bonds with silicone remover and wait 3 minutes
2.Gently squeeze the bead at a 45-degree angle with pliers
3.Slide the extension downward – never tug sideways
4.Work in small sections to avoid tangling
🔴Deep Cleaning Protocol
Proper cleaning removes product buildup, oils, and environmental pollutants while preserving the hair’s integrity and natural shine.
| Step | Professional Method | Risk with Home Methods |
|---|---|---|
| Soak | Use a pH-balanced clarifying wash | Shampoo can strip natural oils |
| Rinse | Cool water, vertical strokes | Hot water causes tangling |
| Dry | Air dry on a mesh rack | Towel drying roughens cuticles |
🔴Salon-Quality Reinstallation
Proper reinstallation ensures your affordable hair extensions look natural, feel comfortable, and stay securely in place for weeks.
🟠Installation Steps:
1.Sectioning
Create a 4-section grid on your head for even placement
2.Bead Placement
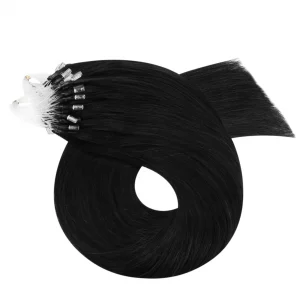
Use new micro rings. Isolate 8-10 natural hairs per bead and place 3mm from scalp
3.Securing
Clamp with medium pressure, rotate, and finish with a firm squeeze
4.Pattern
Distribute 60% around parietal ridge, 30% at occipital bone, 10% at crown
🟡Pro Tip: Always use new micro rings for reinstallation – old rings lose their grip.
Professional Aftercare
Proper maintenance after reinstallation ensures your affordable hair extensions look beautiful and last as long as possible.
72 Hours
✅Sleep with a silk cap
✅Avoid styling products and heat
✅Gently brush twice daily with extension-safe brush
Weekly
✅Check bonds for slippage
✅Use sulfate-free shampoo
✅Apply leave-in conditioner
Biweekly
✅Use chelating shampoo to remove buildup
✅Check for tangles at bond points
✅Apply hair mask
Monthly
✅Apply protein treatment
✅Check for signs of wear or damage
✅Refresh with color-depositing conditioner
Troubleshooting Common Issues
❌Slippage
If extensions start slipping:
Apply bond sealer around rings
Re-clamp loose beads with proper tension
Consider smaller beads if slippage persists
❌Tangling
To resolve tangling:
Use a handheld steamer to gently detangle
Apply anti-tangle serum
Brush more frequently, especially before bed
❌Frizz
For frizzy extensions:
Apply keratin spray or smoothing serum
Avoid excessive heat styling
Use a boar bristle brush to distribute oils
Expert Tips & Tricks
Insider knowledge from professional stylists to help you get the most out of your affordable hair extensions.
When to Replace Extensions
Even with perfect care, extensions eventually need replacement. Look for these signs:
- Over 50% of beads are found damaged or worn.
- Significant cuticle lifting or persistent frizz
- Color fading that can’t be refreshed
- Excessive shedding or breakage
Essential Products for Longevity
Invest in these professional products to extend your extensions’ life:
- Sulfate-free, pH-balanced shampooPrevents drying and preserves color
- Silicone detangler reduces friction, breakage.
- Keratin-infused heat protectant and damage shield.
- Bond sealerSecures micro rings and prevents slippage